How to Upgrade to Windows 8 Pro
by 27 October, 2012 3:29 am0
Microsoft has officially launched the commercial version of Windows 8, and starting today, users will be able to order a genuine copy of Windows 8 right from Microsoft itself and download it from their existing Windows operating system.
Microsoft is currently giving away the latest version of Windows for an unbeatable cost of just $39.99. This is an upgrade offer and can be availed by existing Windows 7, XP and Vista customers. This offer is available only from October 26th to Jan 31st 2013. However, if you buy a qualifying Windows 7 PC between 2 June 2012 and 31 January 2013, you can purchase a download of Windows 8 Pro at a special promotional price for only $19.99 or only Rs 1,999 INR.
So, let’s get started with downloading and upgrading your system to Windows 8 Pro from an existing Windows 7 system.
Before we get started, please make sure that your system meets the minimum system configuration:
- Processor: 1 gigahertz (GHz) or faster with support for PAE, NX, and SSE2 (more info)
- RAM: 1 gigabyte (GB) (32-bit) or 2 GB (64-bit)
- Hard disk space: 16 GB (32-bit) or 20 GB (64-bit)
- Graphics card: Microsoft DirectX 9 graphics device with WDDM driver
Steps to Upgrade to Windows 8 Pro
Microsoft has provided a Windows 8 Upgrade Assistant program, and it is recommended that you use it to download and install Windows 8. The upgrade assistant scans your current PC to see if it is ready for Windows 8 and then provides a compatibility report and optional steps for you to buy, download, and install Windows 8.
Step 1:
Click here to download the Windows 8 Upgrade Assistant – Direct Download Link: http://go.microsoft.com/fwlink/p/?LinkId=261871
Step 2:
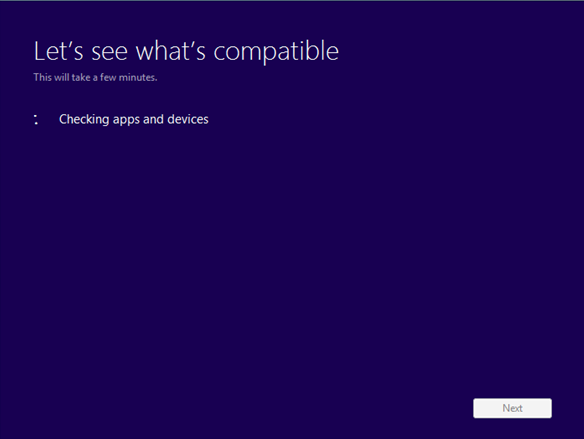
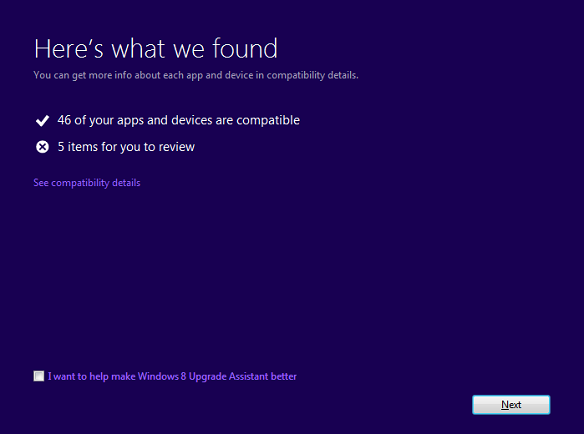
Once you have downloaded Microsoft Upgrade Assistant, open it and wait until it gathers the required information and analyses your system. This will check all your current apps and devices that are compatible with Windows 8. In the next screen you will be displayed with a report along with an option to see the entire compatibility details.
Step 3:
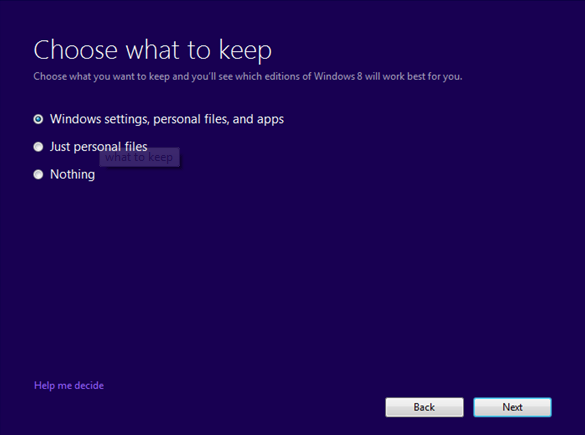
If you are upgrading from Windows 7, Windows 8 will provide you an option to keep existing files and apps, however, Windows XP and Windows Vista users will not have this feature. Click next.
Step 4:
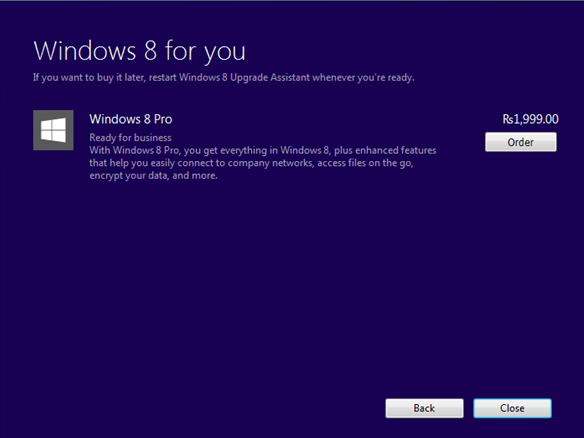
In the next screen, click the “Order” button to proceed. Your order details will be reviewed before you can go ahead and checkout. Also, you will be provided with an option to order a Windows 8 DVD.
Step 5:
In the next step, enter your billing address and click “Next” button. Select your payment option. There are two options to select from: Credit Card, or PayPal.
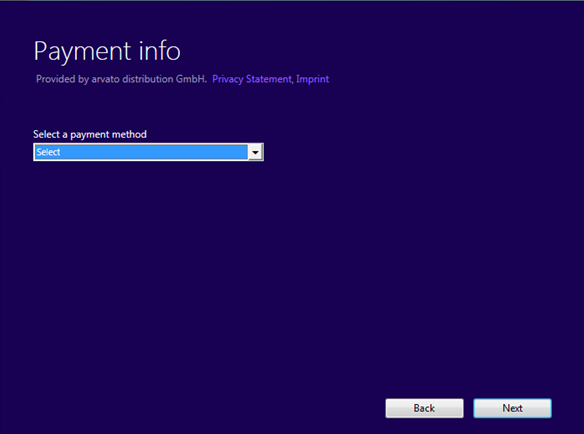
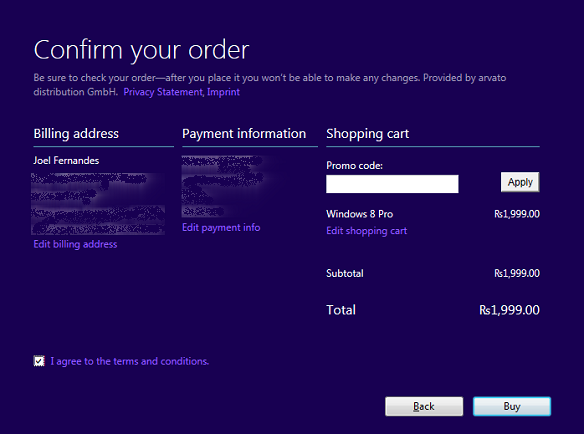
In this case, I have selected Credit Card payment mode. You will be asked to enter you credit card details. Once entered, click next. Your card details will be verified. Now, click on the “Buy” button in the Confirm your order” screen.
Step 6:
You will see the “Processing your order” screen, and if your payment was successful, you will be provided with a genuine Windows 8 product key. You don’t have to write it down somewhere, as you would have already received an email with the confirmation order and product key from Microsoft. Click next, and Windows 8 should start downloading.
Step 7:
Downloading will take time depending on the speed of your Internet connection. The entire download is somewhere around 2GB, so make sure that your Internet connection is not on a limited plan.
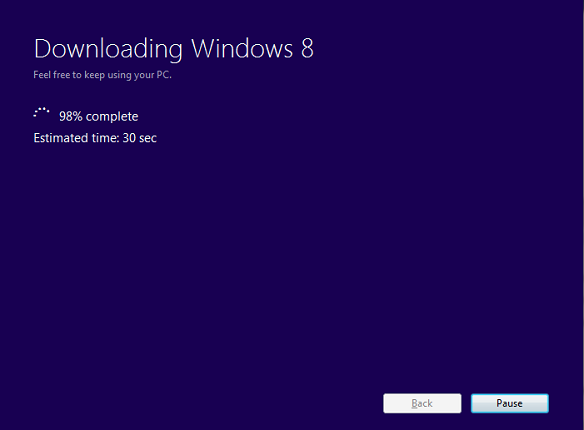
Once the download has completed, the upgrade assistant will run a quick check whether all files have downloaded properly or not. This will also make the files ready for upgrade.
Step 8:
In the next screen, you will be provided with three options: Install now, Install by creating media, and Install later from desktop.
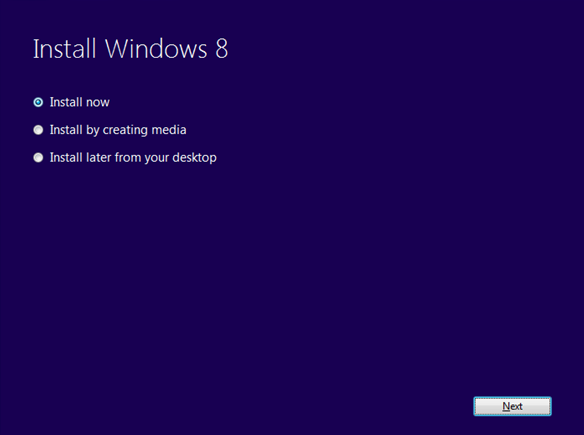
The second option will help you to burn Windows 8 to a DVD through ISO or a USB drive. However, if you select Install now, the set up will continue with the upgrade process and you can follow the onscreen instructions and you can skip the rest of this tutorial.
I have chosen to create a media, and in the next screen, you will see that the upgrade assistant will create an ISO file of Windows 8.
Step 9:
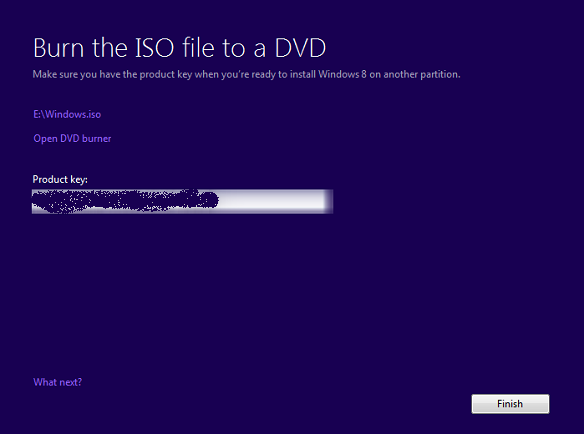
Finally when you have created the ISO, set up will once again show the product key. Simply, boot the system with the DVD created and you can follow the onscreen instructions to install Windows 8.
